Well, we are officially in the midst of holiday season. And if you’re in a stressful whirlwind of finding the perfect gifts for all your loved ones, let’s take a break and have some fun — that’s what the holidaze are about anyways, right?
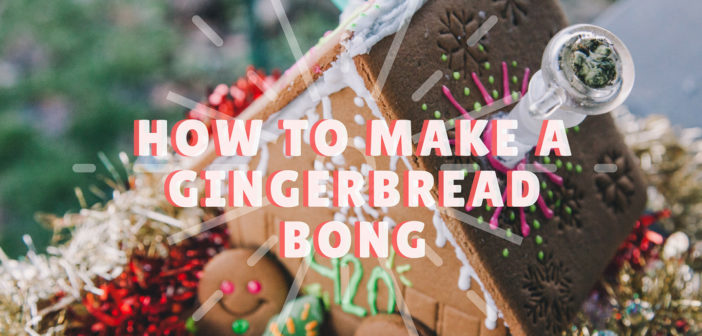
We at Marijuana.com love stepping up to the challenge of turning anything into a bong — and we mean anything. So this year, we’re going to transform the traditionally innocent gingerbread houses of our youth into a pot-smoking chimney of daaaank.
 The gingerbread pipe has been done before, but we’re going to take this to the next level and actually figure out how to percolate some water in this delicious domicile.
This is going to be the best lit-mas yet

What You Need:
- 1 (…or 2 or 3) Gingerbread house kits — complete with tray, frosting, gingerbread, and decorating candies.
- 1 Downstem (ideally 5-6 inches long)
- 1 Wide-mouth shot glass (or similar vessel to hold water)
- Dampened paper towel
- Sharp knife or skewer
- Straw or equivalent mouthpiece
- Dank weed
Step 1:

Find a downstem and water vessel that fits the inner-workings of the house. I used a 6-inch downstem with a squat shot glass for the base. Anything you can find to hold some water and give enough room for the downstem to percolate will work.
See that Gingerbread Man’s smile? He knows what’s coming.
P.S. You can easily make this a dry pipe by omitting the water
Step 2:

We’re going to need to cut/drill a hole through the roof of the gingerbread house large enough for the downstem to slide through and fit snugly. Worried that taking a sharp knife to this dry-as-cardboard gingerbread would snap the entire piece in half, I tore a small piece of wet paper towel and placed it directly over the spot I wanted to cut the hole. After about 4 minutes of dampened paper towel on each side, the gingerbread was much easier to work with. You can place the paper towel on both sides of the roof for moisture and move onto the next steps.
Step 3:

Generously line the base of the provided tray or building surface of your choice with frosting and then add your first wall.
Did you notice our Gingerbread friend found some tree?
Step 4:

Place your second wall firmly on the frosting foundation and line both ends with frosting (it really helps to have three or four hands for this task).
Don’t forget to make sure your downstem fits inside the house before you close it up!
Step 5:

Now it’s time for the trickiest part of the whole process (which isn’t even that tricky, you just have to be delicate). Gently place the tip of your knife onto the dampened spot of gingerbread. Swivel it around, like a drill, to gradually cut a hole. Once you’re through to the other side, keep checking the size of the hole with your downstem to ensure you’ll get a snug fit.
Step 6:

Alright, it’s time to construct! Once that downstem is in nice and snug, line the roof of the house with frosting. Align the downstem with your shot glass of water, you may need to make some adjustments to the shot glass — I had to put a concentrate container under the shot glass to raise it a bit. Once it’s aligned, seal that baby up!
Step 7:

Repeat the Step 5 process with the knife, only cutting a much smaller hole this time. This side will be where we draw smoke out, so you can use anything you find to make a comfortable mouthpiece. I decided to use a straw that worked pretty well, but a small glass tube would be ideal. Also, if you use a longer stem — like a straw — be sure to place it outside the water in your new house.
Step 8:

Final step is to seal ‘er up! Don’t be shy with that frosting, fill in any cracks to ensure your house is airtight. Don’t forget to seal the downstem and mouthpiece.
Step 9:

Now for the best part — place your bowl and fill the chimney with some fire. Chug away and inhale that sweet, holiday spirit!
credit:marijuana.com